


 497 / 759

Technical Hotline
+44 (0)1268 563720
497
For a full range of corresponding products,
see pages 70-97 in the product selector.
MK Elements Collection
Installation
The MK Elements Collection products consist of the main product module, complete
with its’ support frame, plus a separate clip on frontplate. The product is mounted to
the wall, after wiring, and the frontplate is clipped onto the frame. The frontplate is
supplied separately to aid installation.
1.
Ensure the depth of the back box is correct for the product and that it is fitted
securely to the wall.
2.
Install the cables in the normal way and, using the fixing screws supplied,
mount the product, still minus its frontplate, to the wall. It is important the correct
headed screws are used as any other may clash with the rear of the frontplate.
3.
Do not over tighten the screws, so as to prevent damage or distortion to the
product or support frame. Adjust so the frame or module sits squarely on the wall.
4.
Care should be taken to ensure product features such as snap fits are not blocked
during installation or decorating, preventing correct fitting of frontplates (for
example plaster, tile grout, paint etc).
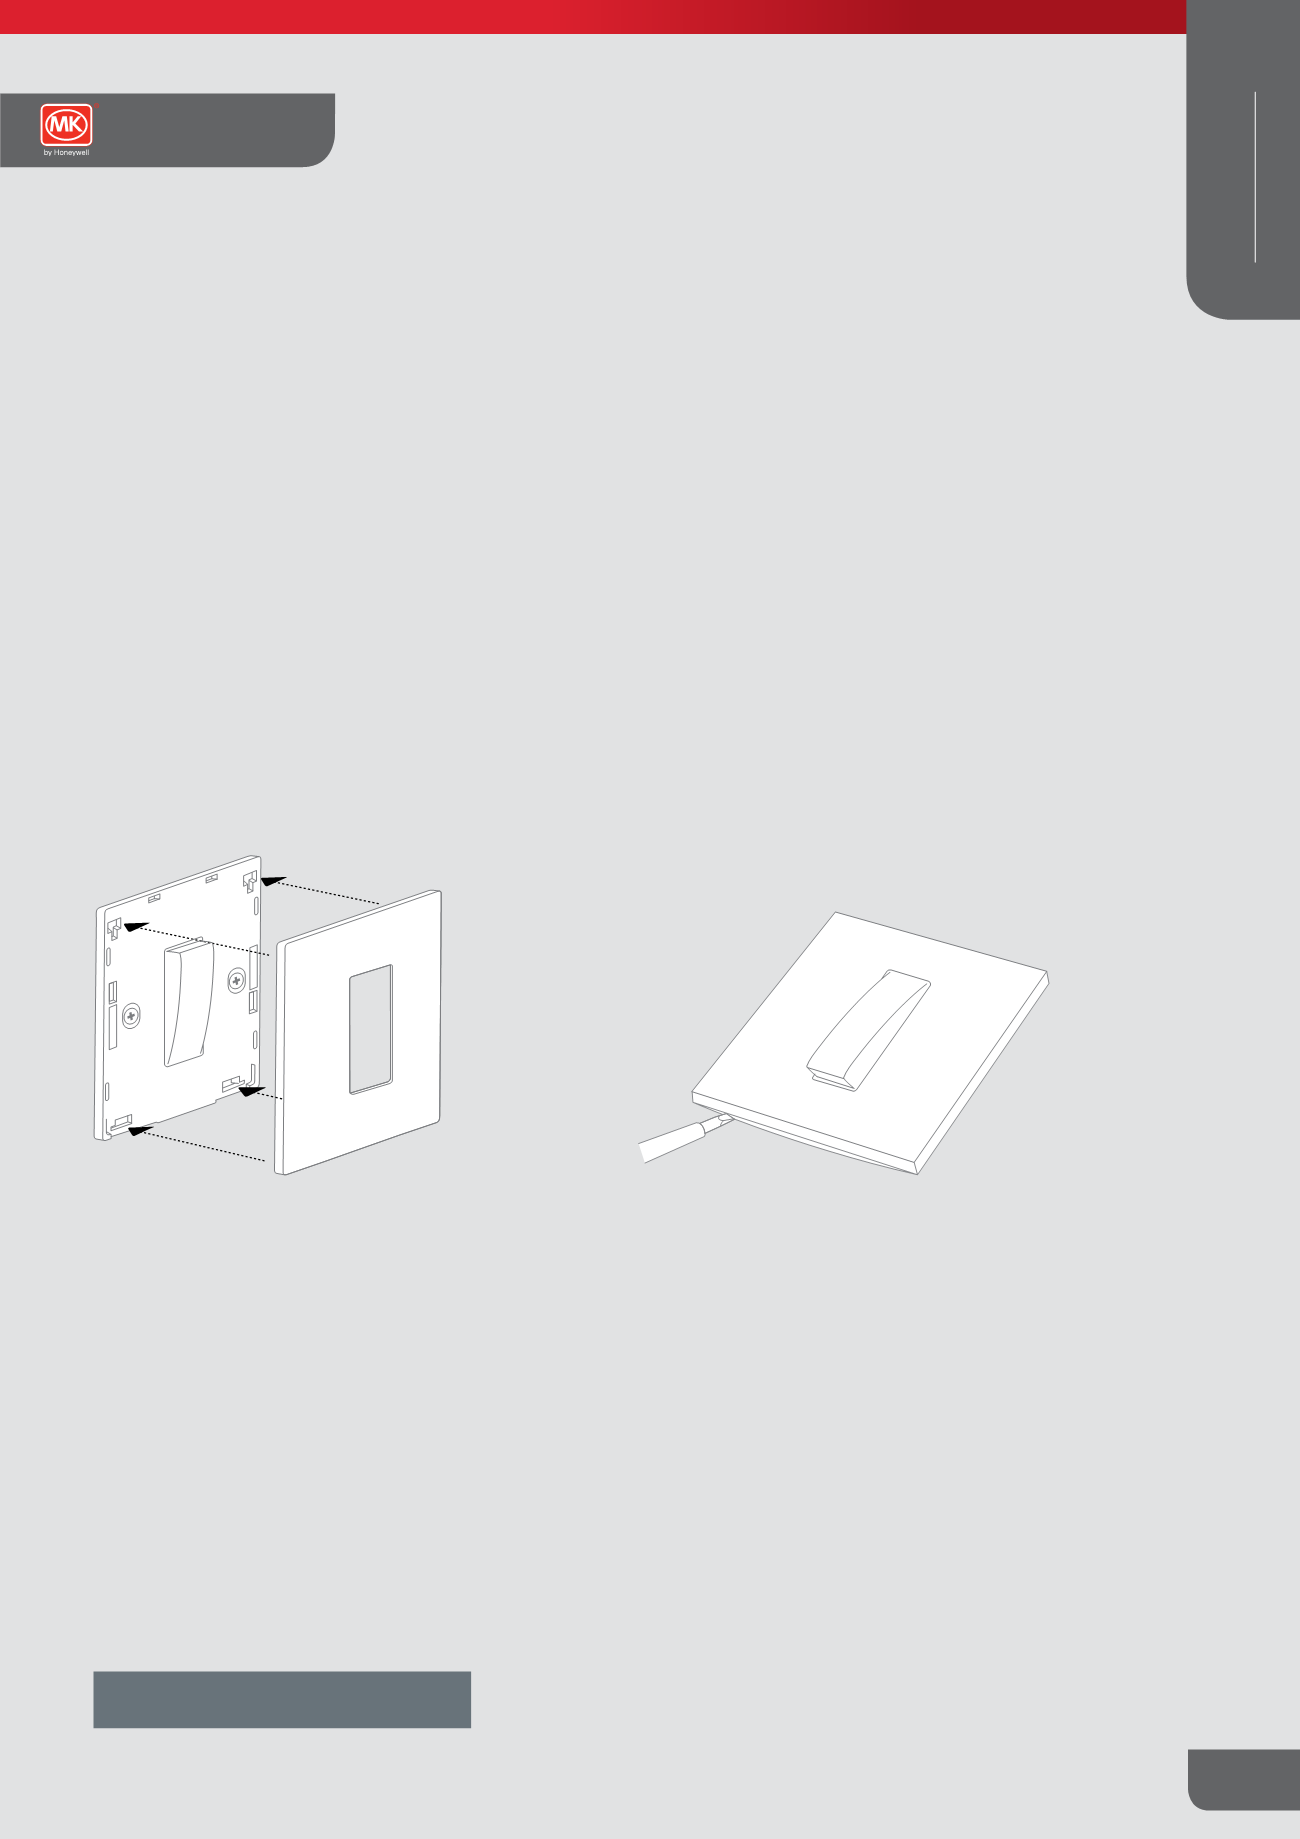
Fitting and removing the frontplate
Fitting the frontplate
1.
Locate the top and bottom hooks on the back of the frontplate
into the holes on the top and bottom of the module.
2.
Gently push along the top edge of the frontplate followed by
the bottom edge.
Note: Ensure the correct frontplate is fitted to the correct module or frame
Removing the frontplate
1.
Carefully insert a 4mm screwdriver into the slots provided
along the bottom edge frontplate.
2.
Carefully twist the screwdriver and lift the frontplate away
disengaging the snap fits.
Note: Care should be taken to ensure product features such as snap fits are not blocked during installation or decorativng, preventing correct fitting of
frontplates (for example plaster, tile grout, paint etc).
Elements Collection
Technical
WIRING DEVICES
DECORATIVE